The 12.5″ ThinkPad X270 is one of the last ultra-portable ThinkPads to carry Lenovo’s iconic
Power Bridge design: a fixed internal battery plus a hot-swappable
external battery. This article dives deep into how the system works, how to hot-swap safely,
practical runtime strategies, battery health science, and—critically—the early warning signs that your
pack(s) are failing and need replacement. Prominent, reputable purchase options are provided below for both the
internal and external packs used by X270 owners worldwide.
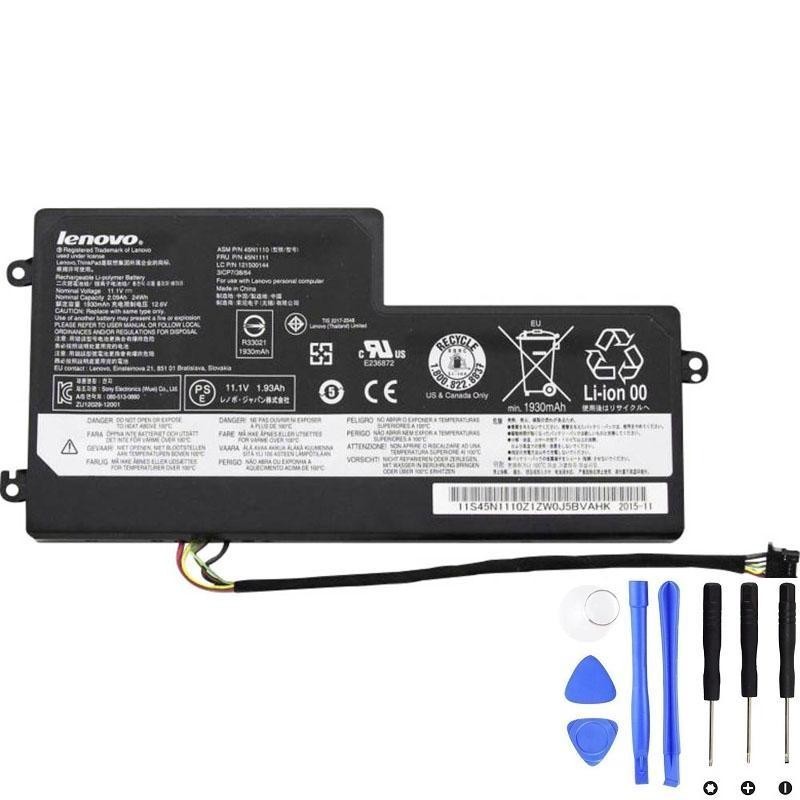
Lenovo 45N1111 — 24 Wh Internal Battery
The always-present “bridge” battery that keeps the X270 alive while you swap externals without shutting down.
Tip: Replacing a tired internal pack stabilizes hot-swaps and prevents sudden shutdowns.
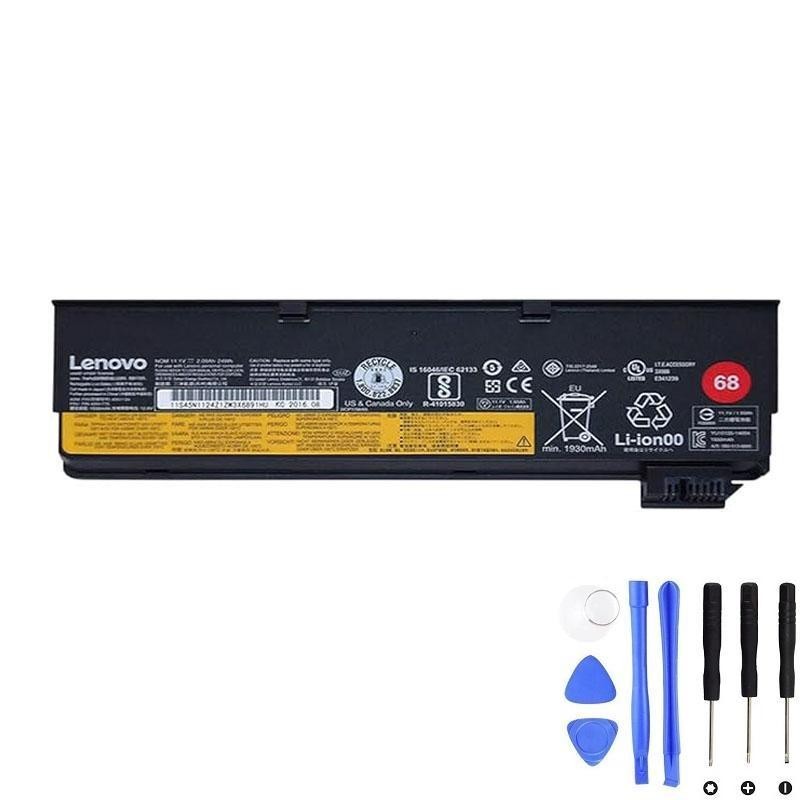
Lenovo 01AV460 — 24 Wh External Battery
Slim, light external “cartridge” for everyday mobility. Hot-swappable in seconds thanks to Power Bridge.
Carry a spare in your bag; swap live when Battery 2 runs low—no sleep, no downtime.
Links open in a new tab. Verify your exact model/FRU before purchase.
What “Power Bridge” Is (and Why X270 Owners Love It)
Power Bridge pairs an internal battery with a removable external battery.
The internal pack keeps the machine powered while you pull the external pack and snap in a fresh one—no shut-down,
no sleep, and no data loss. Windows shows the two packs as Battery 1 and Battery 2, each with
its own charge %, status, and (in detailed tools) design vs full-charge capacity.
On the X270, the system is tuned for mobility without anxiety. You can carry a spare external pack, swap on a
train or in a meeting, and keep working. For travelers, support engineers, field researchers, and any “power-user”
who lives away from wall outlets, this design is worth its weight in gold.
Battery Options & Part Numbers
X270 configurations commonly ship with a ~24 Wh internal pack and accept several families of external packs.
The links below point to reputable options that X270 users deploy worldwide.
| Role | FRU / Model | Nominal Capacity | Location | Hot-swap | Best use |
|---|---|---|---|---|---|
| Internal | 45N1111 | 24 Wh | Inside chassis | No | “Bridge” power; enables live external swaps |
| External (slim) | 01AV460 | 24 Wh | Rear bay | Yes | Everyday carry; preserves slim profile |
Some markets also sold higher-capacity externals in the same physical family. X270 owners often carry two 24 Wh externals for flexibility and airline comfort.
How Charging & Discharging Really Work on X270
The X270’s firmware and embedded controller (EC) coordinate both packs. In everyday use, most units
prefer to discharge the external pack first. That way you can swap it anytime while the internal
pack quietly maintains uptime. When charging on AC, the controller may prioritize the internal pack, then top up
the external—or it may charge both concurrently depending on thermal and wear conditions. Minor variance
between machines is normal.
- Battery 1 vs Battery 2: Order can vary by BIOS, but typically Battery 1 = internal, Battery 2 = external.
- Wear-aware usage: Some firmware prefers the more worn pack to be cycled first to balance aging.
- Thermal safety: If the chassis is hot, charge rates are reduced or temporarily paused to protect the cells.
Safe Hot-Swap Procedure (Step-by-Step)
- Confirm the internal battery shows sufficient charge (or connect AC temporarily).
- Close heavy workloads (renders, VMs) to minimize peak draw during the swap window.
- Flip the latch, remove the external pack, seat the charged replacement firmly until it clicks.
- Verify Windows still shows power from Battery 1, and that Battery 2 appears with its new charge value.
Important: Hot-swap applies to the external bay only. Any work involving the internal pack requires full shutdown and adherence to ESD and service-manual steps.
Real-World Runtime Planning & Profiles
Runtime depends on screen brightness, panel type, Wi-Fi/Bluetooth activity, CPU/GPU load, and background apps.
As a planning baseline for a healthy X270 on a modern Windows build with balanced power settings:
- Light office (Wi-Fi, 150–200 nits): ~5–7 hours with 24 Wh internal + 24 Wh external (one external).
- Medium mixed (browser tabs + calls): ~4–6 hours; consider carrying a spare external.
- Heavy (Teams/Zoom + Excel modeling): ~3–5 hours; cap frame rates in any GPU-accelerated content, dim display slightly.
The most flexible setup for mobility is one internal + two 24 Wh externals in your bag. Swap once mid-day and you’re covered without bulking up the machine.
Battery Health 101 (Capacity, Cycles, Temperature)
Lithium-ion cells age with time, cycles, and heat. The single best indicator of health is the ratio:
Full-Charge Capacity ÷ Design Capacity. A healthy pack typically reports 80–100% early in life,
then declines gradually. Two practices extend life: avoid prolonged 100% storage at high temperature,
and reduce needless cycling.
- Design Capacity: The energy the pack was rated for when new (e.g., ~24 Wh).
- Full-Charge Capacity: What it can hold today. This number drops as the pack ages.
- Cycle Count: One full cycle ≈ 100% of capacity used, not necessarily in one go.
- Temperature: Heat accelerates aging. Keep vents clear, don’t block the fan intake, and avoid hot car trunks.
20 Unmistakable Symptoms Your X270 Batteries Need Service or Replacement
- Sudden shutdown when removing AC even though Windows reports >20–30% remaining.
- Hot-swap fails: the machine dies when you pull the external pack—classic sign the internal pack is weak or disconnected.
- Charge stuck at a fixed percentage (e.g., 60% forever) despite hours on AC.
- Rapid drop from 40% to 10% (or to 0%) within minutes during light workloads.
- Windows Battery Report shows Full-Charge Capacity < 60–70% of Design Capacity on either pack.
- Cycle count very high (hundreds) combined with short runtime.
- Pack not detected intermittently (Battery 2 disappears and reappears without being touched).
- Self-discharge overnight in sleep/standby far above normal (>3–5% per hour) with no culprit process.
- Thermal anomaly: the battery area feels unusually warm when idle on AC.
- “Plugged in, not charging” persists across reboots and power adapters.
- Charging very slowly or only when the machine is off, even at moderate temperatures.
- Voltage sag under light load: the machine stutters or dims when unplugged, then recovers.
- Gauge desync: percentages jump up/down by 10–20% without corresponding use.
- Lenovo Vantage diagnostic failure or “Battery needs replacement” status.
- Physical swelling: bottom case wobble, trackpad click issues, or visible gap—stop using immediately and replace.
- Battery error at POST (pre-boot warning) referencing the internal or external pack.
- AC removal causes instant sleep even with both batteries reported as present.
- Inconsistent hot-swap behavior that correlates with mild bumps or lid movement (connector wear).
- Connector scorching or corrosion on the external battery contacts.
- Age alone: packs older than ~5–7 years often need refresh regardless of cycle count.
Safety note: If you suspect swelling, do not attempt to compress the chassis shut. Power down, remove AC, and arrange replacement. Swollen cells are a safety risk.
Diagnosis Workflow (Windows Battery Report, Lenovo Vantage, BIOS Tests)
1) Windows Battery Report
- Open Command Prompt (Admin) or PowerShell (Admin).
- Run powercfg /batteryreport /output “%USERPROFILE%\Desktop\battery-report.html”
- Open the generated HTML and review:
- Installed Batteries: Design vs Full-Charge Capacity for each pack.
- Recent Usage: look for abnormal drops or sleep drain.
- Battery capacity history: trend lines over time.
2) Lenovo Vantage (or Commercial Vantage)
- Run the Battery Health test. If it flags “Replace,” you have an objective trigger.
- Check for charge thresholds. If thresholds are enabled, “stuck at 60–80%” may be normal and intentional.
3) BIOS/UEFI Checks
- Enter BIOS (usually F1 at boot on ThinkPad).
- Verify both batteries are detected. Some service menus show battery status and cycle data.
- Use the Disable internal battery option before opening the chassis for service.
Replacement & Installation: Internal and External
External Battery (01AV460 — 24 Wh)
- Shut down heavy apps (you may keep the system on for a normal swap).
- Flip the rear latch, remove the old pack, align and click the new pack into place.
- Verify in Windows that Battery 2 appears with the expected charge level.
External replacement takes seconds and fixes most “short day” complaints immediately.
Internal Battery (45N1111 — 24 Wh)
- Shut down the X270 and unplug AC. In BIOS, choose Disable internal battery if available.
- Discharge static, remove the base screws, gently lift the bottom cover.
- Disconnect the internal battery cable, unscrew, and lift the pack carefully.
- Seat the new 45N1111 pack, reconnect, check cable routing, and reassemble.
- Reconnect AC, power on, and let the system idle for a few minutes to detect the pack.
If hot-swap fails even with a fresh external, the internal pack is likely weak or its connector loosened—replace it.
Optimization: Charge Thresholds, Standby Drain, Travel Tips
Charge Thresholds (Longevity vs Readiness)
Lenovo’s tools often offer charge thresholds (e.g., start charging at 60%, stop at 80%). This reduces time
spent at high state-of-charge, which is healthy for Li-ion. If you’re desk-docked most days, thresholds are smart.
Before a flight day, temporarily lift the thresholds to charge to 100%.
Standby/Connected Standby Hygiene
- Disable apps that wake often (IMs, cloud sync) when you need long sleep endurance.
- Use Hibernate for truly long breaks; it draws virtually no power.
- Run powercfg /sleepstudy to identify misbehaving drivers/processes on modern Windows builds.
Thermals
- Keep vents clear; avoid soft bedding or laps for long sessions.
- Clean dust periodically; even a thin layer can add several °C to internal temps.
Travel Kit
- One internal + two slim externals is a flexible, airline-friendly combo.
- Bring a compact USB-C or slim barrel charger if your X270 config supports it; top up during layovers.
FAQ
Why does my external drain first? Is that a bug?
No—that’s by design for Power Bridge. It ensures you can hot-swap the external anytime while the internal keeps the machine alive.
I see two batteries in Windows. Which is which?
Usually Battery 1 = internal, Battery 2 = external, but labels can vary. Check which percentage changes when you unplug AC and work a bit.
Battery shows “Plugged in, not charging.” What now?
First, check whether thresholds are enabled (that’s expected then). If not, reboot, try a different adapter, and run a Vantage battery diagnostic. Persistent issues often indicate a tired pack.
How often should I calibrate?
Only when the gauge is clearly off (jumps, stalls). Routine deep cycles aren’t necessary and add wear.
Can I run without the external battery installed?
Yes—on the internal alone. But runtime will be limited, and you lose the ability to hot-swap until you add an external again.
Do I need to replace both packs at once?
No. Replace the external first (fast, easy). If hot-swap still fails or runtime is poor, replace the internal next.
What about swelling?
If you see case gaps, trackpad issues, or wobble, stop using the laptop, remove AC, and arrange replacement immediately. Swollen cells are a safety hazard.