The ThinkPad T480 features Lenovo’s Power Bridge design: a small internal battery plus a removable external battery. In normal operation, the laptop should run primarily from the external pack, then seamlessly switch to the internal one—so you can hot-swap the external without shutting down. If your T480 doesn’t switch and powers off even though one battery still has charge, use this step-by-step guide to diagnose and fix it. When a pack is worn or faulty, we also show you the correct replacement options.
Jump to the Fixes ↓
Skip to Replacement Batteries →
Safety first: if any battery looks swollen, stop using it immediately and replace it.
How Power Bridge Should Work
- Two batteries appear in Windows (Battery 1 / Battery 2) and in Lenovo Vantage.
- The system prefers the external pack first, then the internal.
- Hot-swap: you can remove the external battery while on AC or while the internal still has charge.
Typical Symptoms
| What you see | First checks |
|---|---|
| Laptop shuts off at 10–30% even though two batteries are present | Is one pack not detected or reporting near-zero capacity? See Battery Report. |
| External battery shows 0% and stays there, or isn’t recognized | Reseat the external pack, clean contacts, verify latch, try EC reset (Fix 5). |
| Order seems reversed (internal drains first) | Check Lenovo Vantage settings, thresholds, firmware levels (Fix 3 & 6). |
| Unexpected “critical battery” shutdown during high load | Worn battery can’t hold peak current; consider replacement (see below). |
Why Switching Fails (Most Common Causes)
- One pack is worn or faulty: the controller tries to switch, but the target pack reports very low Full Charge Capacity or triggers protection.
- Power thresholds or “Conservation Mode” behaviors in Lenovo Vantage cause unexpected pauses or non-standard sequencing.
- EC/firmware state is stuck after unusual discharge/hibernation; the battery gauge is out of sync.
- Physical connection issue: external battery not fully seated, dirty contacts, worn latch/DC rail bounce.
- Driver stack after Windows reinstall: missing power/chipset updates.
10 Practical Fixes (in Order)
Fix 1 — Confirm Both Batteries Are Detected
- In Windows 10/11, click the battery icon or open Settings → System → Power & battery.
- Open Lenovo Vantage → Device → Power to see detailed status for Internal and External packs.
- If only one battery appears, reseat the external pack (Fix 2) and run an EC reset (Fix 5).
Fix 2 — Reseat & Clean the External Battery
- Shut down. Unplug AC.
- Slide the latches and remove the external pack. Blow away dust; lightly clean the gold contacts with a dry microfiber.
- Re-insert firmly until the latches click. A half-seated pack can cause abrupt power loss.
Fix 3 — Check Vantage Battery Modes & Thresholds
- In Vantage, disable “Conservation Mode” or any custom Charge Threshold while testing.
- If charge pauses at 55–80% by design, the switch-over logic can appear odd. Test again with thresholds off.
Fix 4 — Update Power/Chipset Drivers
- Install the latest Intel chipset/power management packages for your T480.
- If you recently reinstalled Windows, this is essential for proper ACPI battery handling.
Fix 5 — Embedded Controller (EC) / Internal Battery Reset
- Shut down and unplug AC.
- Enter BIOS → choose Disable/Disconnect Internal Battery (if available) and shut down.
- Remove the external pack.
- Hold the power button for 30 seconds to clear the EC.
- Re-install the external battery, connect AC, then power on and re-enable the internal battery in BIOS.
Fix 6 — Update BIOS/UEFI and Lenovo Utilities
- Use Lenovo Vantage (or System Update) to apply BIOS and firmware updates.
- Battery controller and adapter identification logic can improve with firmware updates.
Fix 7 — Run Battery Gauge Reset (Calibration)
- Charge to 100% and keep charging for 30–60 minutes.
- Use on battery down to 10–15% without interruption.
- Recharge to 100% and retest switching behavior.
Fix 8 — Test Packs Individually
- External-only test: In BIOS, temporarily disconnect the internal battery, then boot on the external pack (with AC unplugged). If it collapses quickly, the external is likely worn.
- Internal-only test: Remove the external pack and run on the internal. Sudden drop/blackout suggests internal degradation.
Fix 9 — Inspect for Swelling or Damage
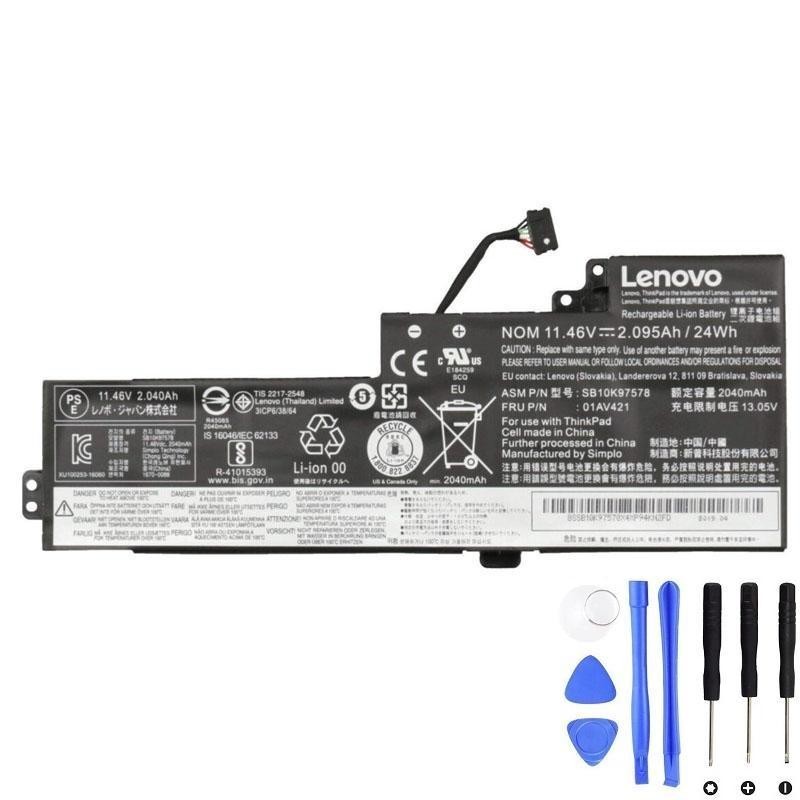
- Remove the bottom cover to visually inspect the internal 24Wh pack. Any bulge, odor, or deformation → replace immediately.
Fix 10 — Replace the Failing Battery
- If Battery Report shows extremely low Full Charge Capacity for one pack, or diagnostics fail, replacement is the reliable fix.
- See Replacement Batteries below for compatible options.
Check Battery Health with Windows Battery Report
- Open Command Prompt (Admin).
- Run:
powercfg /batteryreport - Open the generated HTML (path shown in the output). Look for each battery’s Design Capacity vs Full Charge Capacity.
| Finding | Interpretation | Action |
|---|---|---|
| One pack shows very low Full Charge Capacity (e.g., <50% of design) | Severely worn pack | Replace that pack |
| One pack shows 0 mWh or “not present” intermittently | Connection or controller glitch | Fix 2 & 5; if persistent, replace |
| Healthy capacities but still abrupt power-off at switchover | Firmware/EC/state issue | Fix 5 & 6; recalibrate |
Tip: Keep a copy of the report before and after calibration or battery replacement to confirm improvement.
Recommended Replacement Batteries (ThinkPad T480)
If fixes don’t stabilize switching, replacing the worn pack is the fastest, most reliable solution. The T480 uses a 24Wh internal battery plus one of several external hot-swappable packs. Choose based on your runtime needs:
External Battery Options

Which capacity should you choose?
| External pack | Capacity | Use case |
|---|---|---|
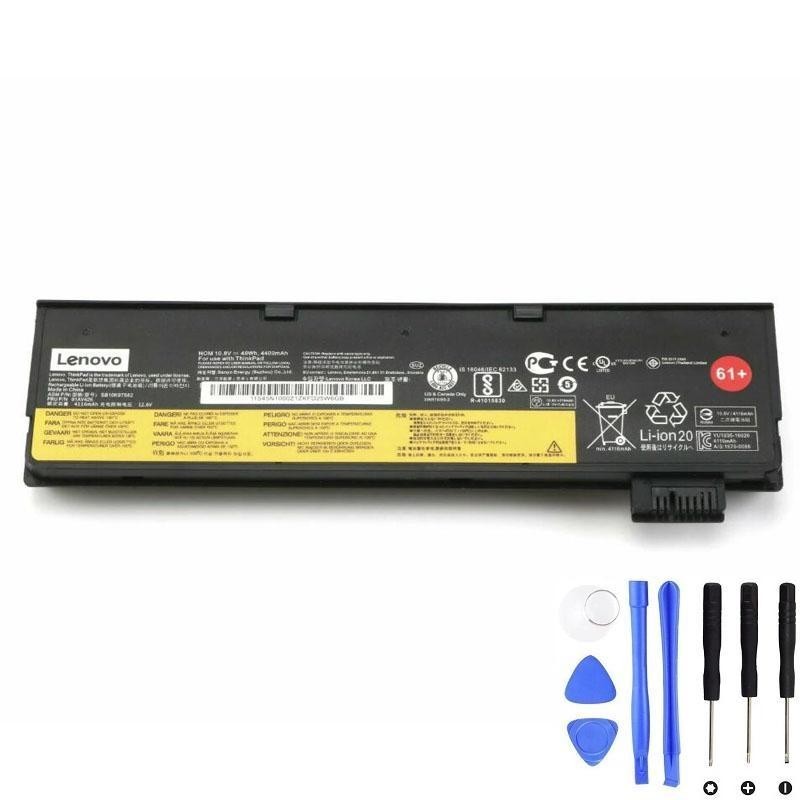
| 01AV423 | 24Wh | Keep the T480 slim and light; everyday office/commute |
| 01AV425 | 48Wh | Balanced runtime vs weight; travel days |
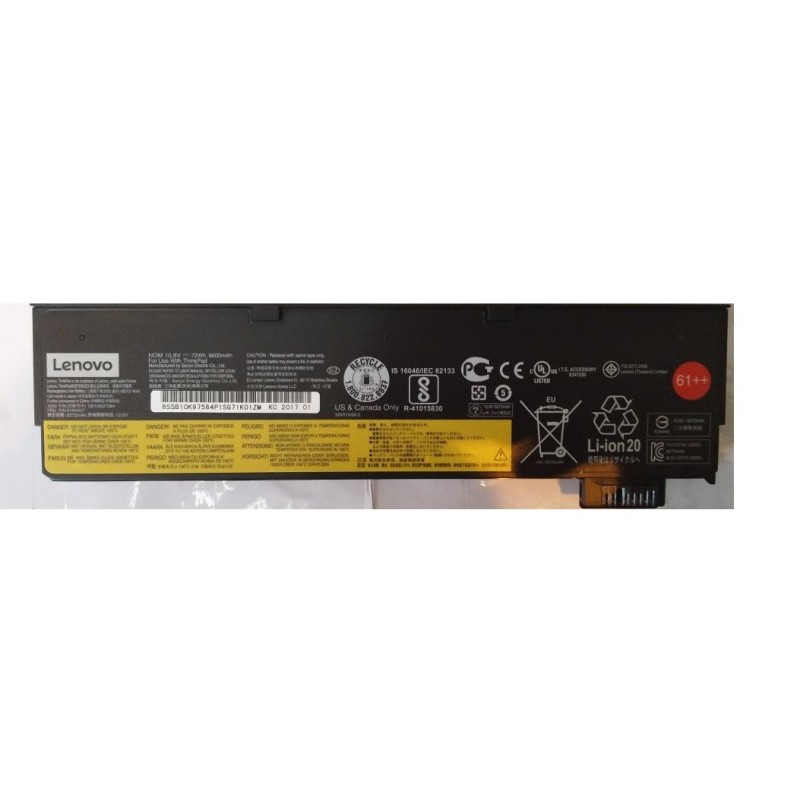
| 01AV427 / 01AV492 | 72Wh | Maximum runtime; field work, long flights |
Pair any external option with a fresh internal 24Wh (01AV421) to restore proper Power Bridge switching and stability.