The ThinkPad T480 uses Lenovo’s Power Bridge design: a built-in internal battery plus a removable external battery. When you need to service the laptop (SSD/RAM/keyboard/fan cleaning) or replace a battery, Lenovo recommends disabling the internal battery in BIOS before opening the chassis. This guide shows the safe, official path—plus how to re-enable power afterward.
Quick steps (official way)
- Shut down the T480 and unplug the AC adapter.
- Power on and immediately tap F1 to enter ThinkPad Setup (UEFI/BIOS).
- Go to Config → Power → Disable Built-in Battery. Press Enter and choose Yes.
- The laptop powers off. Wait 3–5 minutes before opening the bottom cover.
- If installed, remove the external/removable battery as well before servicing.
Why disable the internal battery?
- Safety: Prevents accidental shorts while the palm rest or bottom cover is off.
- Stability: Avoids surprise wake-ups from lid or keyboard events during service.
- Lenovo procedure: It’s the standard pre-service step in ThinkPad guides.
Preparation & safety checklist
- Back up important data before any hardware work.
- Shut down Windows fully (no Sleep/Hibernate), then unplug AC.
- Remove the external battery first (slide latches, lift out).
- Use a non-metallic spudger and Phillips #0/#1 screwdriver; avoid over-tightening screws.
- Discharge static (ESD) by touching a grounded metal object or using an ESD strap.
Method A — Disable Built-in Battery in BIOS (recommended)
- With the machine off, tap F1 at power-on to enter ThinkPad Setup.
- Navigate: Config → Power → Disable Built-in Battery.
- Press Enter → select Yes. The system will power off.
- Wait 3–5 minutes for all rails/capacitors to discharge.
- Open the bottom cover and proceed with your service (SSD, RAM, fan, keyboard, etc.).
Tip: If your BIOS interface is in “simple” view, use the arrow keys to reach Config. The wording may vary slightly by BIOS version.
Method B — Physically unplug the internal battery (last resort)
If you can’t access BIOS (e.g., firmware issues), you can disconnect the internal battery cable. Use this only if Method A isn’t possible.
- Shut down and unplug AC. Remove the external battery.
- Unscrew and lift the bottom cover carefully from the hinge-side gaps.
- Locate the internal battery connector and gently unplug it from the system board.
- Do not short contacts. Avoid tools that can slip. When finished, reconnect the cable firmly and evenly.
How to re-enable the internal battery
- After reassembly, connect the AC adapter. The system will automatically exit the “disabled” state.
- Power on and enter BIOS (F1) if you need to confirm settings or restore charge thresholds.
- In Windows, verify both batteries in Lenovo Vantage or run:
powercfg /batteryreportOpen the generated HTML report to confirm health/cycle count.
Troubleshooting after service
- No power after reassembly: Connect AC, press and hold the power button for 10 seconds. Ensure the internal battery cable is fully seated.
- System frozen: Use the emergency reset pinhole on the bottom (press with a straightened paper clip once), then reconnect AC and power on.
- Battery not detected / percentage jumps: Let the system charge to 100%, then discharge gently to ~10–15% once to re-calibrate readings.
FAQ
Is disabling the internal battery the same as removing it?
No. The BIOS command electronically cuts power for safe service. The battery remains installed.
Do I need to remove the external battery too?
Yes—remove the removable pack first. The BIOS disable targets the internal battery; removing the external eliminates any remaining power source.
How long should I wait after disabling before opening?
Allow 3–5 minutes for all rails/capacitors to discharge.
How do I re-enable the internal battery?
Simply reconnect AC power. The machine exits the disabled state automatically on ThinkPads.
Planning a battery replacement? (T480-compatible options)
If you’re disabling the internal battery to replace parts, here are the T480 battery options (internal + external families):
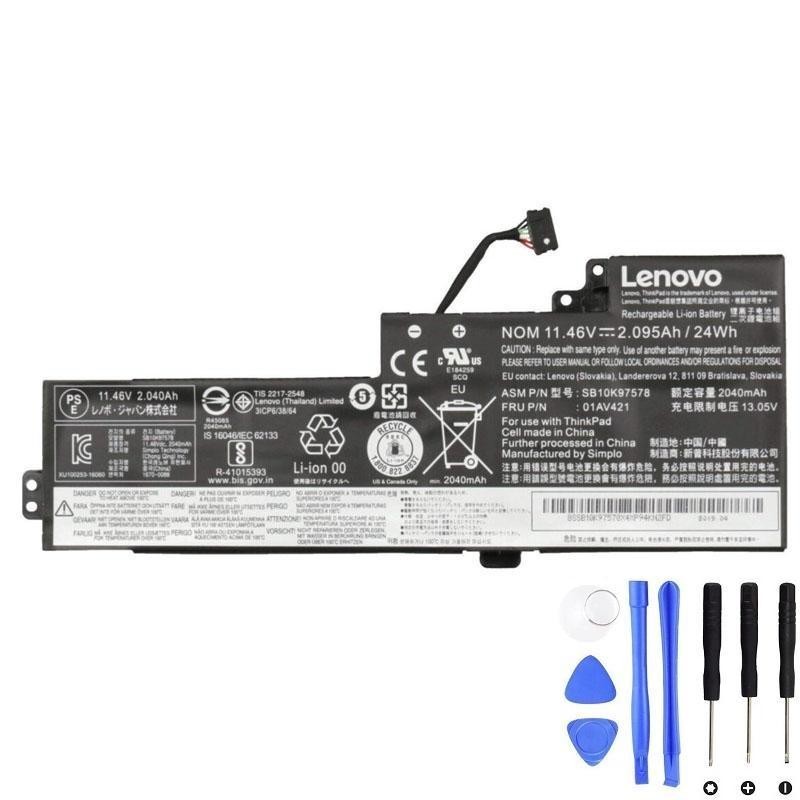
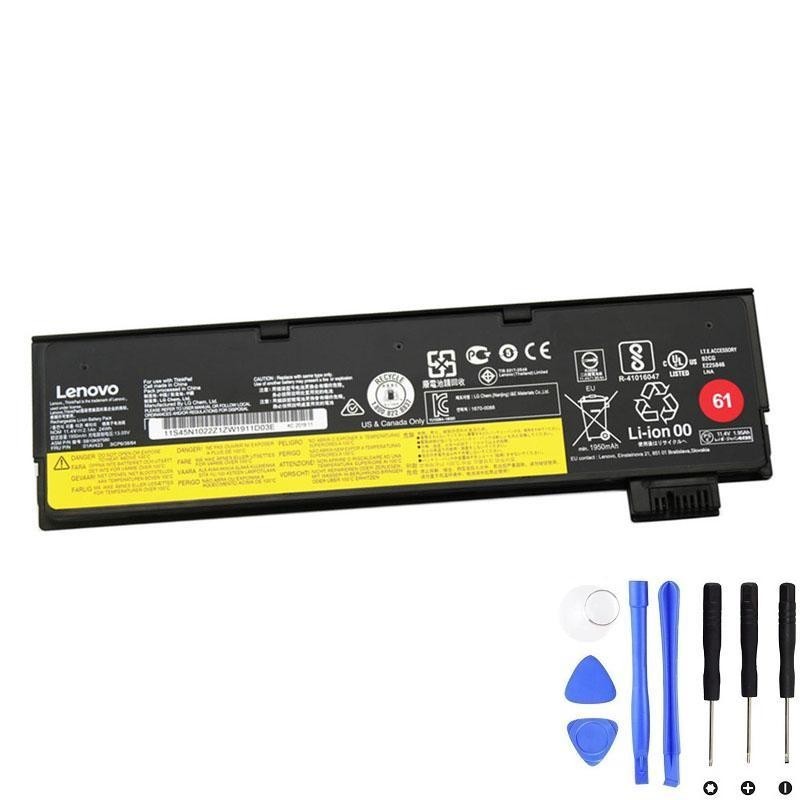
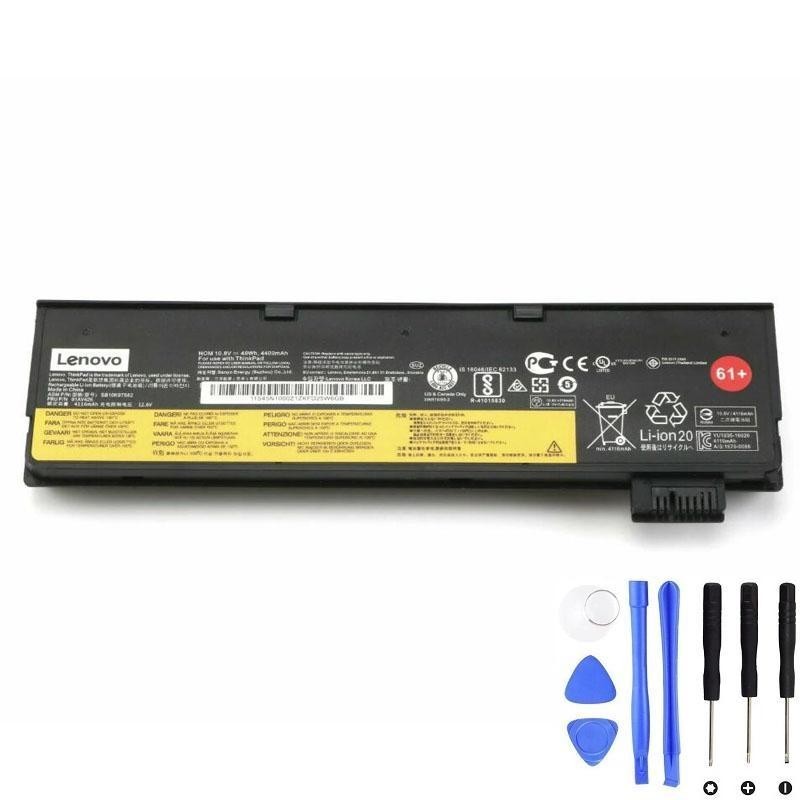
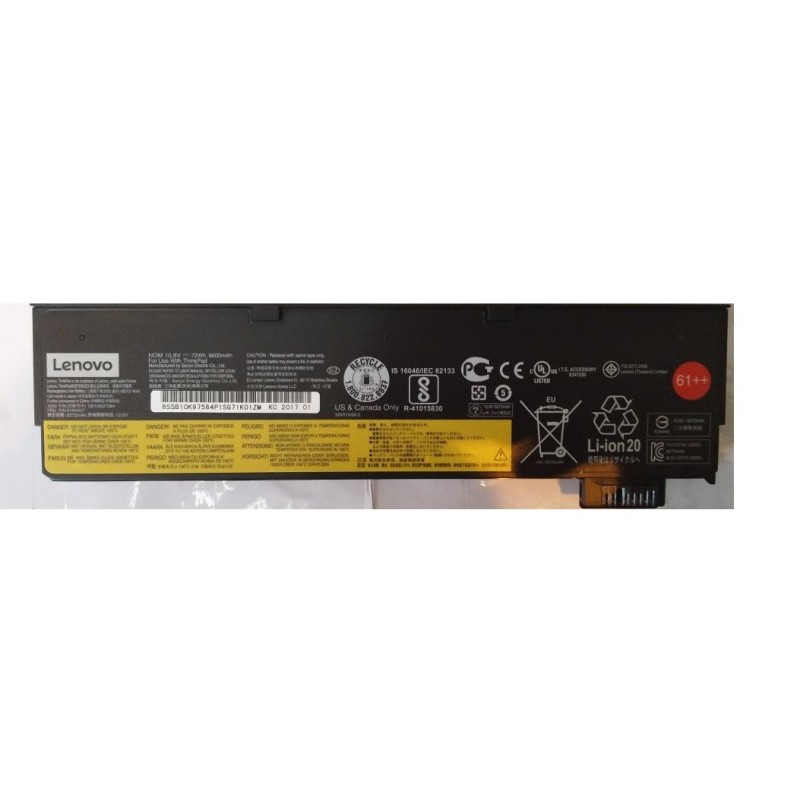
External — 72Wh (Lenovo 61++, FRU 01AV427 / 01AV492)
Maximum runtime—perfect for travel and fieldwork.