HP Spectre x360 13-aw0000 Series – RR04XL 60.7Wh Battery Removal and Installation Guide
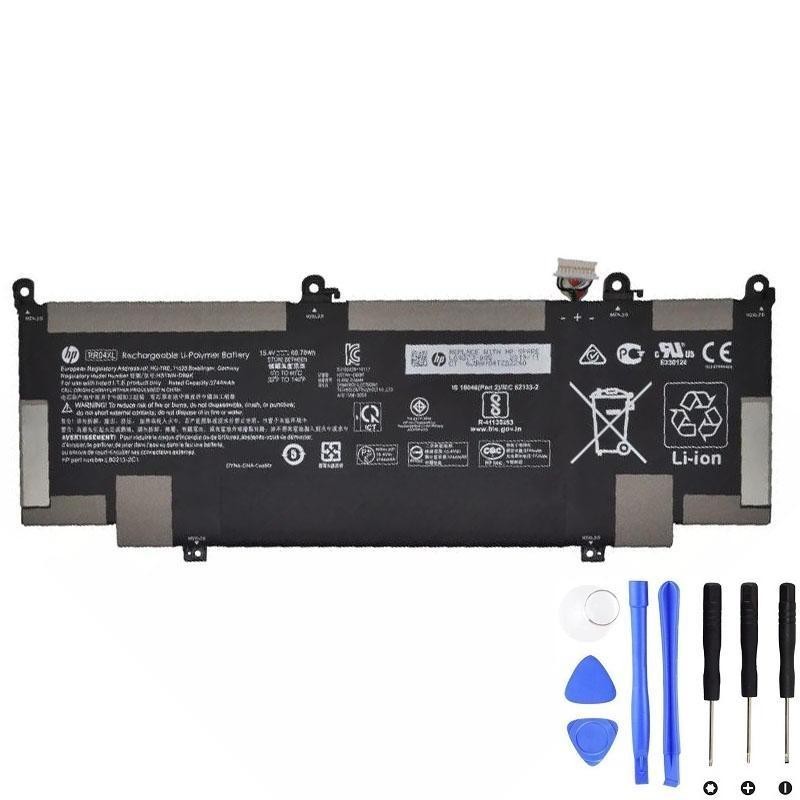
How-to for replacing the internal HP RR04XL battery (about 60.7Wh, 15.4V, 4-cell; common HP spare L60373-005) in the HP Spectre x360 13-aw0000 convertible series.
Recommended Battery
Quick Battery Diagnosis Checklist
- System shuts down suddenly even when Windows shows charge remaining.
- Battery percentage jumps, is stuck, or shows “plugged in, not charging”.
- Laptop only runs when the charger is connected.
- Battery life has dropped to less than 60 minutes under light use.
- Chassis bulge or touchpad lift is visible (possible battery swelling).
If two or more apply, continue with the steps below.
Before You Start
- Back up important data. A battery removal on this model fully removes power.
- Shut down Windows, do not use Sleep or Hibernation.
- Unplug AC adapter and external devices. Work on a clean, non conductive surface.
- If the battery is swollen, do not press on the case. Replace it and handle with care.
Tools and Parts
- HP RR04XL battery (about 60.7Wh, 15.4V, 4-cell). Common spare L60373-005.
- Torx T5 screwdriver.
- Phillips #00 screwdriver.
- Plastic opening picks or a plastic spudger.
- ESD wrist strap or frequent grounding to reduce static risk.
Remove Bottom Cover
- With the laptop closed, place it face down on a soft mat.
- Remove all visible bottom screws. Most units use Torx T5 and Phillips #00 screws. Record each screw location and length.
- Use a plastic pick to release the perimeter clips. Work slowly around the edges. Lift off the bottom cover.
Tip: Do not pry with metal tools. Keep screws organized by position.
Disconnect Battery Cable
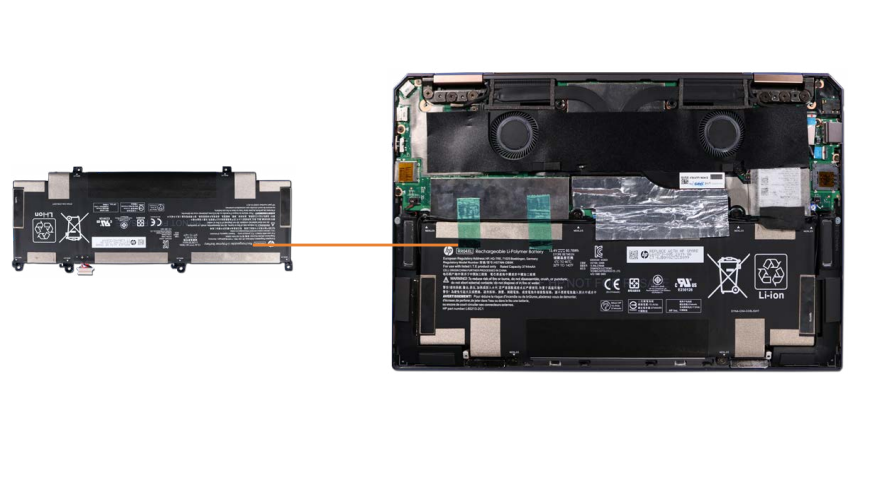
- Locate the battery connector on the system board.
- Using two plastic tools if needed, walk the connector straight out of the socket. Do not lever upward.
Remove Battery
- Remove the Phillips #00 screws that secure the battery to the chassis. Keep them in order.
- Lift the edge of the battery slightly and remove it from the bay. Avoid touching exposed contacts.
Warning: Do not puncture, bend, or crush the battery. Keep metal objects away from the terminals.
Install New Battery
- Place the new RR04XL in the bay. Make sure no cables are trapped under the pack.
- Reinstall the battery screws and tighten them evenly. Do not overtighten.
- Align the battery plug and press it straight into the system board connector until fully seated.
Reassemble and First Power On
- Position the bottom cover and press around the edges to engage all clips.
- Reinstall the original bottom screws in their correct locations and lengths.
- Turn the laptop over. Connect AC and power on. Confirm that Windows shows the battery and that it is charging.
Post Install Checks and Calibration
- Update BIOS and Windows if pending. This can improve power and charging behavior.
- Optional battery check: in Windows, run powercfg /batteryreport or HP diagnostics to verify health.
- Calibrate once: charge to 100 percent, keep charging for 30 minutes, then use on battery to about 10 to 15 percent and charge back to 100 percent.
Notes and Troubleshooting
- If you see a non HP battery message, reseat the connector and confirm the part is RR04XL (spare L60373-005).
- If the touchpad still sits unevenly after replacement, check for cable routing or leftover swelling in the old pack area.
- Recycle the old battery at an approved e-waste center. Do not throw it into household trash.