A failing laptop battery usually announces itself—short runtime, sudden shutoffs, or Windows stuck at a certain percentage. Below you’ll find the most reliable signs, fast diagnostic checks, and what to do next (calibration vs. replacement). We’ve also included three popular Acer batteries you can buy right away if your pack is confirmed bad.
Popular Acer batteries you can buy now
Match by the part number printed on your original battery (e.g., AC14B8K, AP18E8M, AS10D31). If yours differs, our store also carries a broad range of Acer batteries with clear specs, photos, and compatibility details.
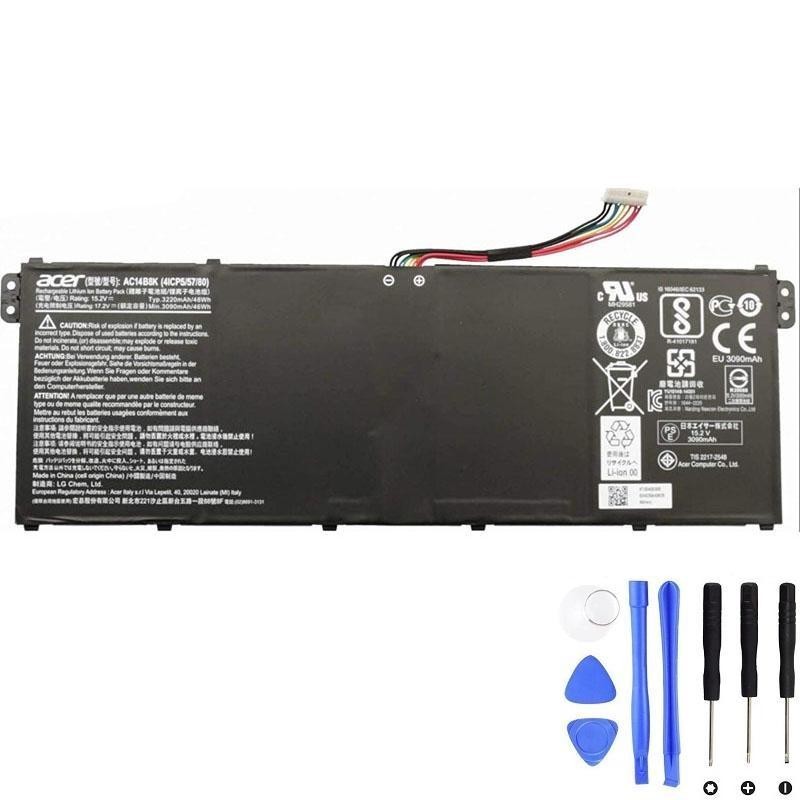
Acer AC14B8K — 48Wh
Common in many slim Acer models. Choose if your original label shows AC14B8K.
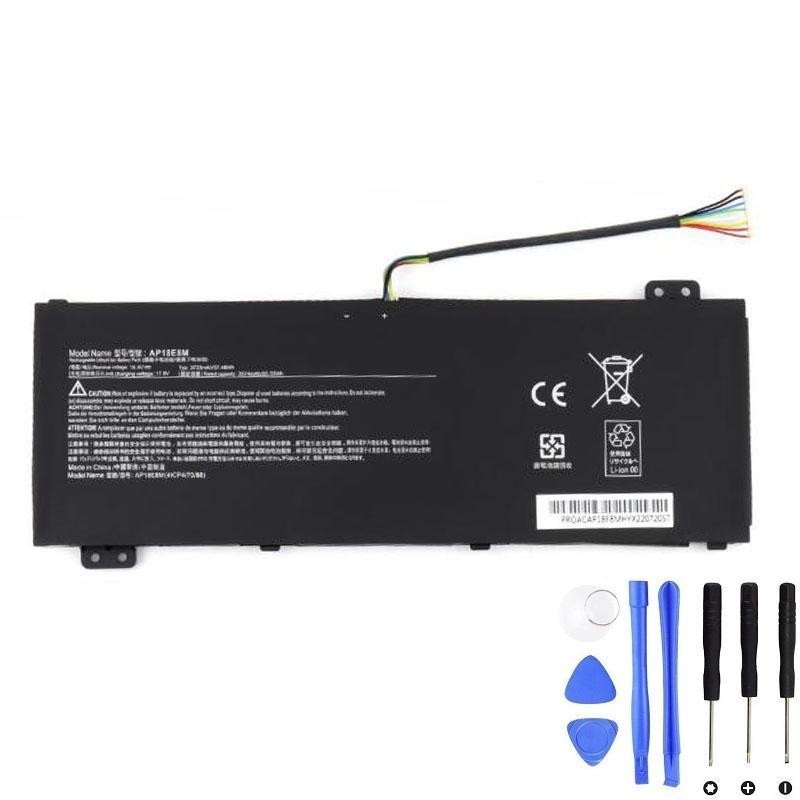
Acer AP18E8M — 57.48Wh
Internal screw-in pack for models labeled AP18E8M. Keeps capacity close to original spec.
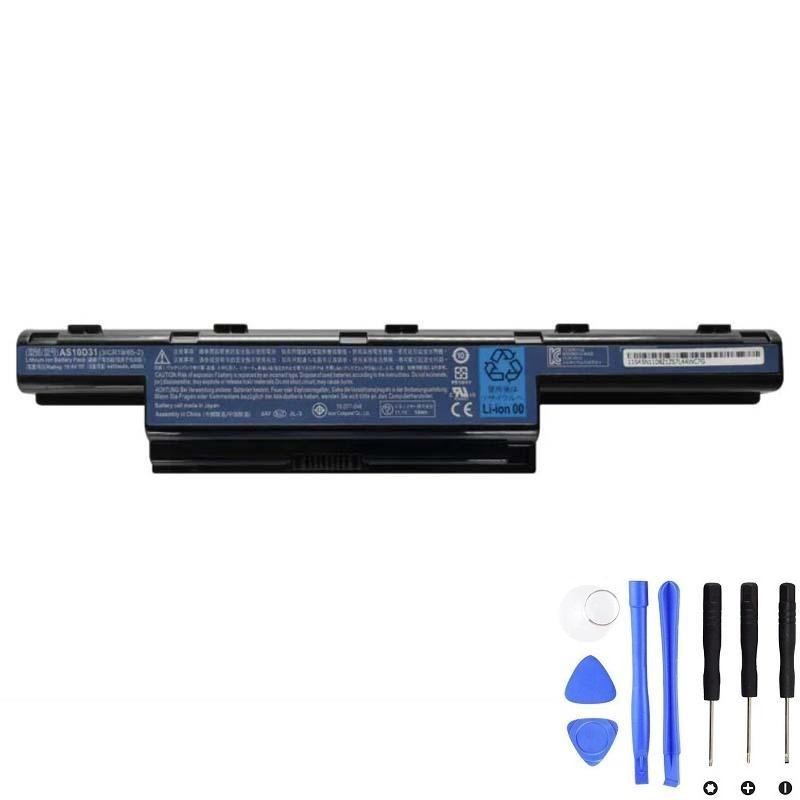
Acer AS10D31 — 48Wh
Used on many older Acer models. Pick this if your original pack reads AS10D31.
Clear signs your Acer battery is failing
Run these quick diagnostics
- Windows battery report: Open Command Prompt (Admin) → run powercfg /batteryreport. Open the HTML report and compare Design Capacity vs Full Charge Capacity. If Full is <70–80% of Design, the pack is notably worn.
- Observe discharge behavior: Charge to 100%, then use the laptop on battery. If it shuts off abruptly above ~10–20%, that’s a classic failing-cell symptom.
- Charger sanity check: With the charger connected, wiggle the plug gently (don’t stress it). If charging intermittently drops in/out, also inspect the DC jack and cable for damage.
- Battery-only boot: Unplug the charger and boot on battery. If it powers off immediately or during light load, the pack likely can’t sustain voltage.
- Physical inspection: If you suspect swelling, stop using immediately. Do not press on the chassis, puncture the pack, or continue charging.
Battery vs. charger vs. motherboard: how to tell
| Symptom | Most likely | Why | Next step |
|---|---|---|---|
| Runs only on AC, dies immediately on battery | Battery | Cells can’t supply current; voltage sags under load | Confirm with battery report; replace pack |
| “Plugged in, not charging” with a known-good battery | Charger/DC jack | Insufficient/unstable input or loose jack | Try a known-good adapter; inspect jack |
| Intermittent charging when moving the plug | DC jack / cable | Poor contact or fractured solder | Repair/replace DC jack assembly |
| Shuts off abruptly at 20–40% | Battery | One or more weak cells; poor calibration | Attempt calibration once; if persists, replace |
| Gets hot near battery during light tasks | Battery | High internal resistance from wear | Stop use if hot; replace pack |
What to do next (calibrate or replace)
- Try a one-time calibration if the pack isn’t swollen and wear isn’t severe:
- Charge to 100%, then leave on AC for 30–60 minutes.
- Use on battery down to ~10–20% (avoid 0% if possible).
- Recharge to 100%. Repeat once if the gauge still drifts.
If sudden shutoffs persist or wear is high, move to replacement.
- Replace the battery if you see swelling, severe wear (<70–80% of design capacity), or abrupt power-offs above 10–20%. Match by the printed part number on your original pack.
- Basic install outline: Power down → remove bottom cover → disconnect battery → remove screws → install new pack → reconnect → reassemble → perform an initial charge cycle (as above).
FAQs
Will a bad battery damage my laptop? A worn battery won’t, but a swollen one can push against the trackpad or chassis. Stop using at once and replace it safely.
Can I keep using the laptop plugged in? Yes, but address heat and swollen packs promptly. For storage, power down around 40–60% charge.
How do I guarantee compatibility? Match the part number on the label (e.g., AC14B8K, AP18E8M, AS10D31). Laptop model names alone can be ambiguous across regions/revisions.
Brand names are used strictly for identifying compatible replacement parts.